
I love sourdough bread and have been wanting to make my own for ages, but it always felt like the most advanced of all the bread making techniques and I wasn't feeling too confident. I have been baking my own bread for close to a year now - I make several types of yeast bread as well as Irish soda bread. But it wasn't until a couple of weeks ago that I finally felt up for the sourdough challenge.
I began by making my sourdough starter - I mixed equal amounts (about 1/3 cup) of rye flour and water and left the mixture to sit in my warm kitchen. I fed it every day with 1-2 tablespoons of flour and water and watched it bubble away as the wild yeast began to work its magic.
It looked pretty much ready after 3 or 4 days, but there never was a right time for me to bake the bread, so I gave it about 2 weeks total. I was pretty certain at that point that my starter was mature enough.
I wanted a really simple recipe as it was my first time after all, and finally used the following:
5 heaped tablespoons rye sourdough starter
300g wholemeal rye flour
300g plain wheat flour
500-600ml very warm water (not boiling)
1 tablespoon salt
100g favourite seeds (I used linseed and nigella seeds, however sunflower or pumpkin seeds would work well too. Or can be omitted altogether.)
Mix all the ingredients with a spoon in a large bowl.
Prepare your loaf tin: this recipe is for a large loaf tin, 35cm x 12cm. If using a metal one, grease it and line with baking paper. I used a glass one so I greased it with butter and sprinkled with wheat bran.
Transfer the sticky mix to the loaf tin. Wrap it tightly in cling film and leave to rise in a warm place for 4-6 hours. Yesterday was a very warm day here, so I left mine outside in the sun. If after 4 hours you don't see any signs or rising, you can heat the oven up to 50°C, turn it off and place your bread mix in the warm oven for about 1h.
The chemical reactions in the mixture will release a lot of gas, so the cling film on the tin will probably look like this after a few hours:

And here it is all risen and ready to go in to the oven:

This needs to be baked in 240°C for 10 minutes; after 10 minutes turn it down to 200°C and bake for another 1 to 1.5 hours. I baked mine for 1h 15min but will probably only do 1 hour next time, as I found that it was a bit too crispy for me. The bread is ready when it sounds hollow when you knock on its base.
And here's the ready loaf!
Important note: you need to let it cool completely before you cut it.

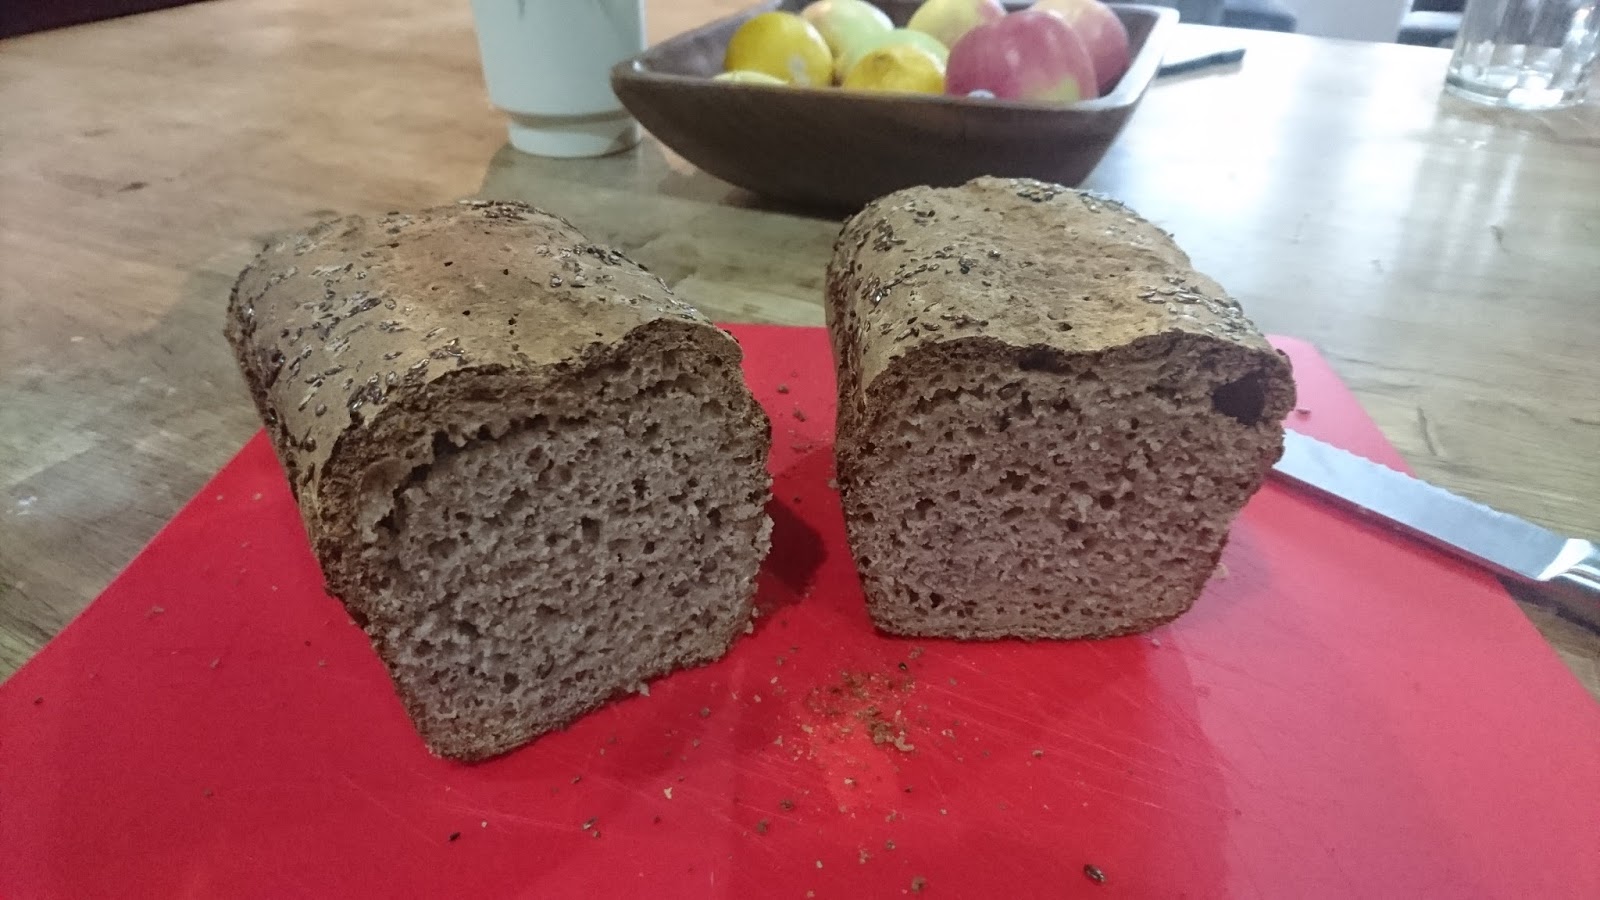
I am really pleased with this; given that it was my very first attempt I can't complain! It tastes really good and I will definitely be making it again.
No comments:
Post a Comment